Switching to a new operating system can feel overwhelming, especially if you’re not tech-savvy. But don’t worry! This guide will walk you through the process of installing and setting up Zorin OS in an easy-to-follow, step-by-step manner. By the end of this guide, you’ll have a fully functioning Zorin OS system ready for your daily tasks.
What You’ll Need
Before we get started, make sure you have the following:
- A USB Flash Drive (at least 8GB of storage).
- A computer with an internet connection.
- Zorin OS ISO file (we’ll show you how to get it).
- A tool to create a bootable USB drive (like Balena Etcher).
Step 1: Download Zorin OS
- Visit the official Zorin OS website: https://zorin.com/os
- Choose the version that suits your needs:
- Zorin OS Core (recommended for most users, free to download).
- Zorin OS Lite (for older computers, also free).
- Zorin OS Pro (paid version with additional features).
- Click the download button and wait for the file to finish downloading.
Step 2: Create a Bootable USB Drive
Now that you’ve downloaded the Zorin OS file, let’s put it onto your USB drive:
- Insert the USB flash drive into your computer.
- Download and install Balena Etcher from https://balena.io/etcher.
- Open Balena Etcher and follow these steps:
- Click “Flash from file” and select the Zorin OS ISO you downloaded.
- Select your USB drive.
- Click “Flash” to start the process.
- Wait until the flashing process is complete, then safely remove your USB drive.
Step 3: Boot from USB Drive
- Plug the bootable USB drive into the computer where you want to install Zorin OS.
- Restart the computer and enter the boot menu (usually by pressing
F12,ESC, orDELduring startup). - Select your USB drive from the boot options and press Enter.
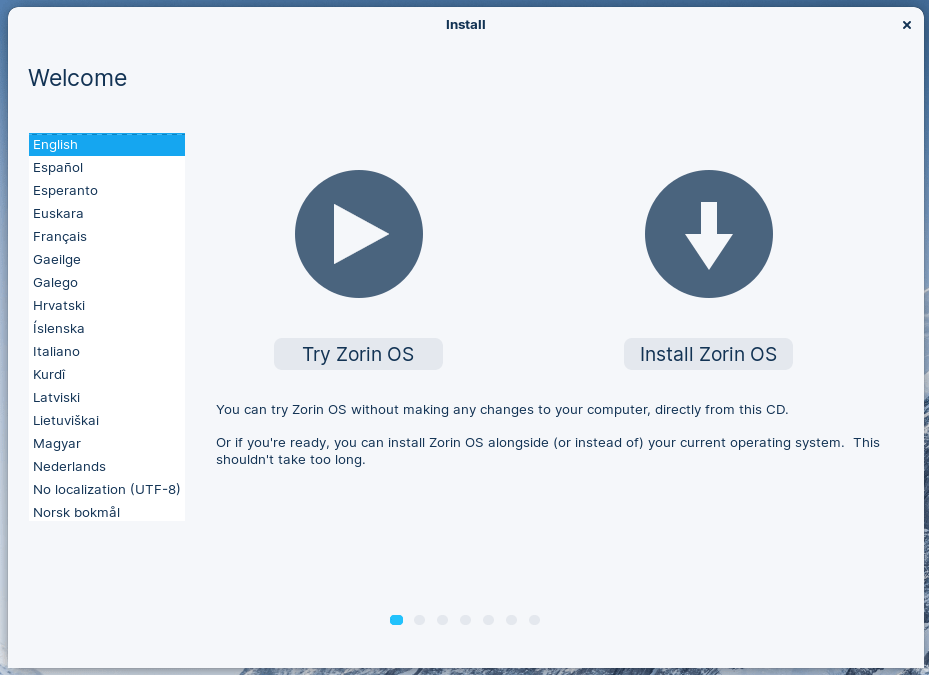
- Zorin OS will start in “Live Mode,” allowing you to try it before installing.
Step 4: Install Zorin OS
- Once Zorin OS loads, click the “Install Zorin OS” button.
- Follow the installation wizard steps:
- Choose your preferred language.
- Connect to Wi-Fi if needed.
- Select the installation type (“Erase disk” for a fresh install or “Install alongside” to keep existing files).
- Choose your time zone and keyboard layout.
- Set up a username and password for your new system.
- Click “Install Now” and wait for the process to complete.
Step 5: Set Up Your New System
Once the installation is done, restart your computer and remove the USB drive. Now it’s time to set up your system:
- Log in with the username and password you created.
- Update your system:
- Open “Software Updater” to check for any updates and install them.
- Install essential apps:
- Open “Software” and explore apps like LibreOffice, Thunderbird for email, and other productivity tools.
- Personalize your experience:
- Go to “Settings” to customize the appearance, themes, and preferences.
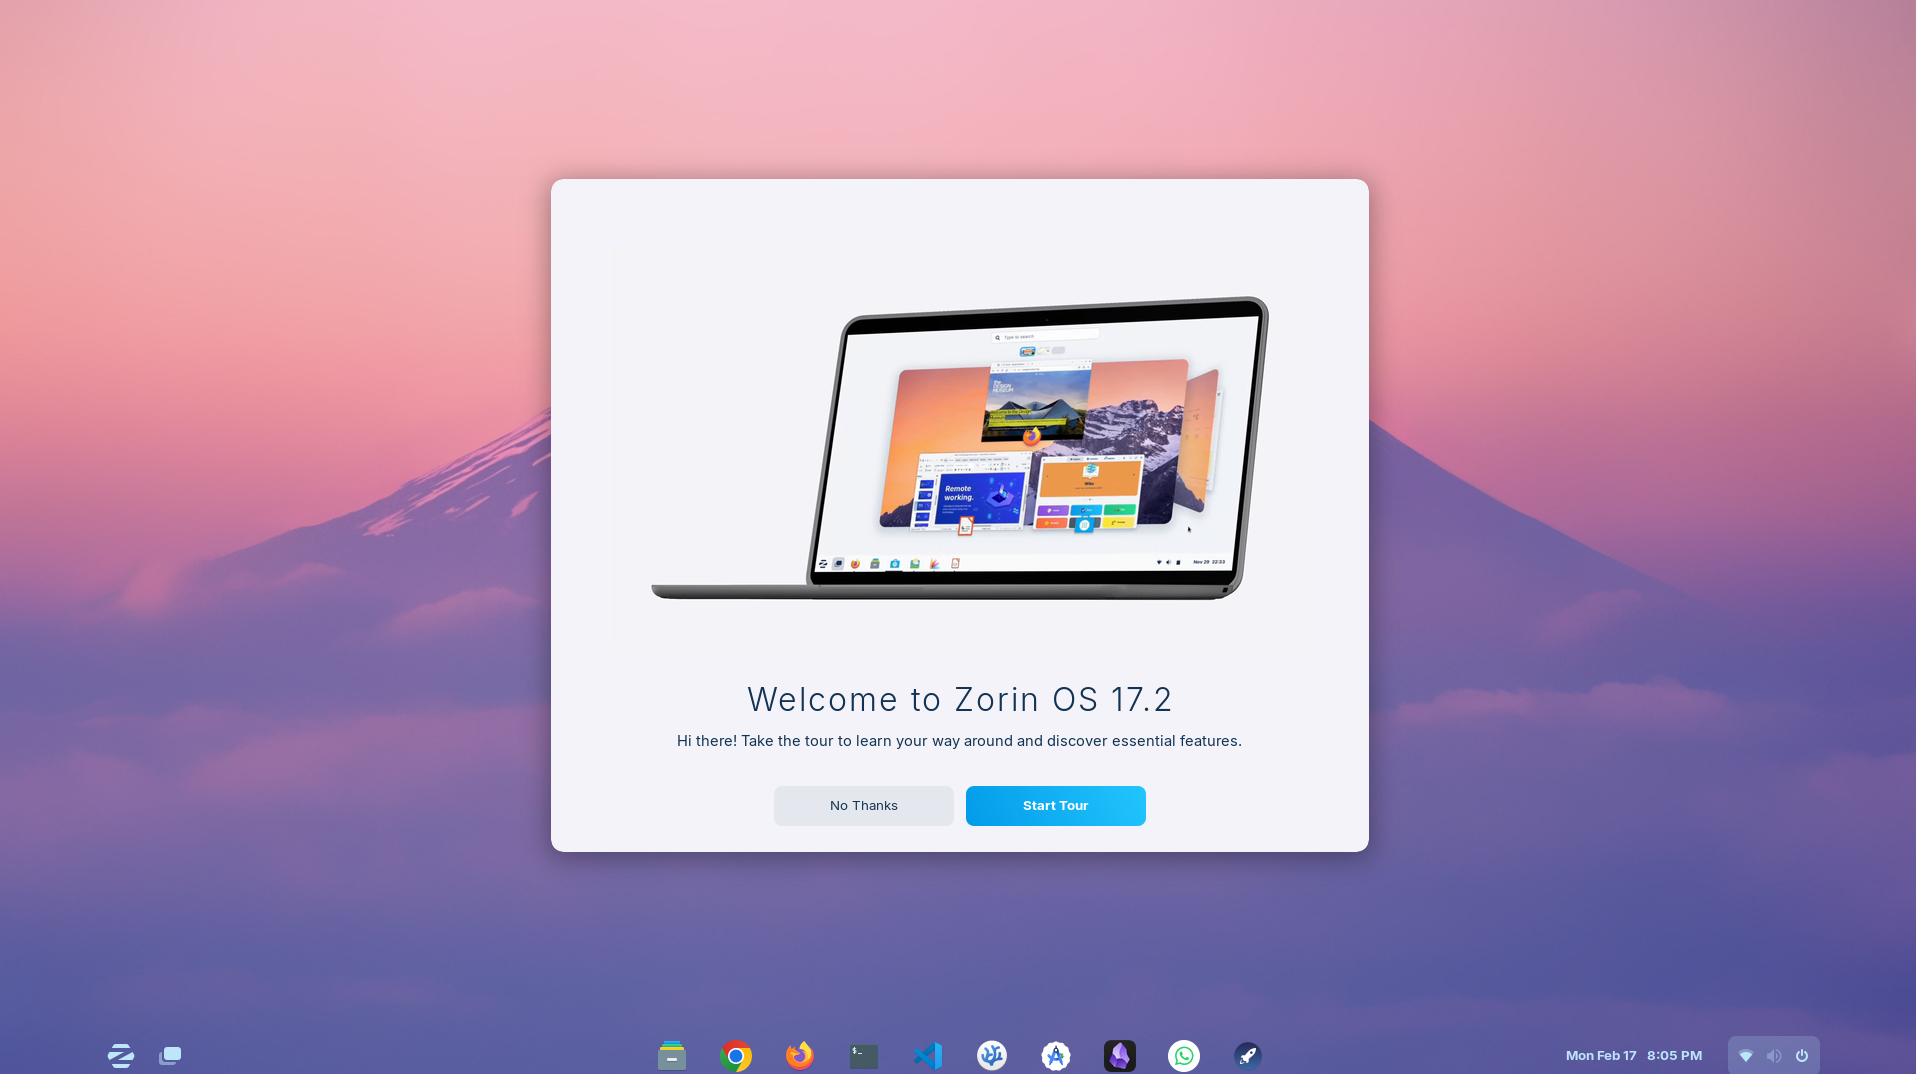
Step 6: Enjoy Zorin OS!
You’re all set! Zorin OS is now installed and ready for use. You can start exploring its features, install apps, and enjoy a smooth and secure computing experience.
If you ever need help, visit the Zorin OS community forums for support and guidance.
Ready to get started with Zorin OS? Stay tuned for more tips and tricks to make the most of your new system!
…